How to add your card to ChatGPT and subscribe
ChatGPT plans are bought on the website. Your card number, expiry date, CVC and billing address are all in the card email — follow the steps below.
Steps
- 1
Open the plans page
In a browser, open chatgpt.com/pricing (do not upgrade from the iPhone app). Pick Plus — or Go or Pro — and click "Get Plus". Prices show in your local currency; the screenshot was opened in Canada, so it shows CAD.
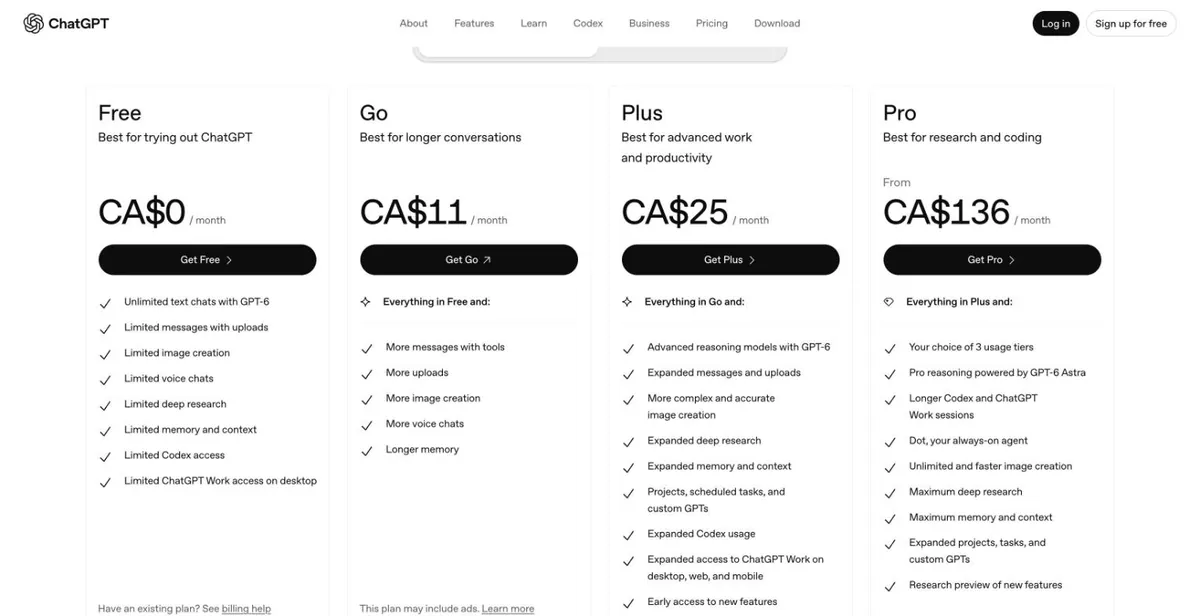
chatgpt.com/pricing (signed out) - 2
Sign in
Sign in to your ChatGPT account (create one first if needed). You land on the payment page.
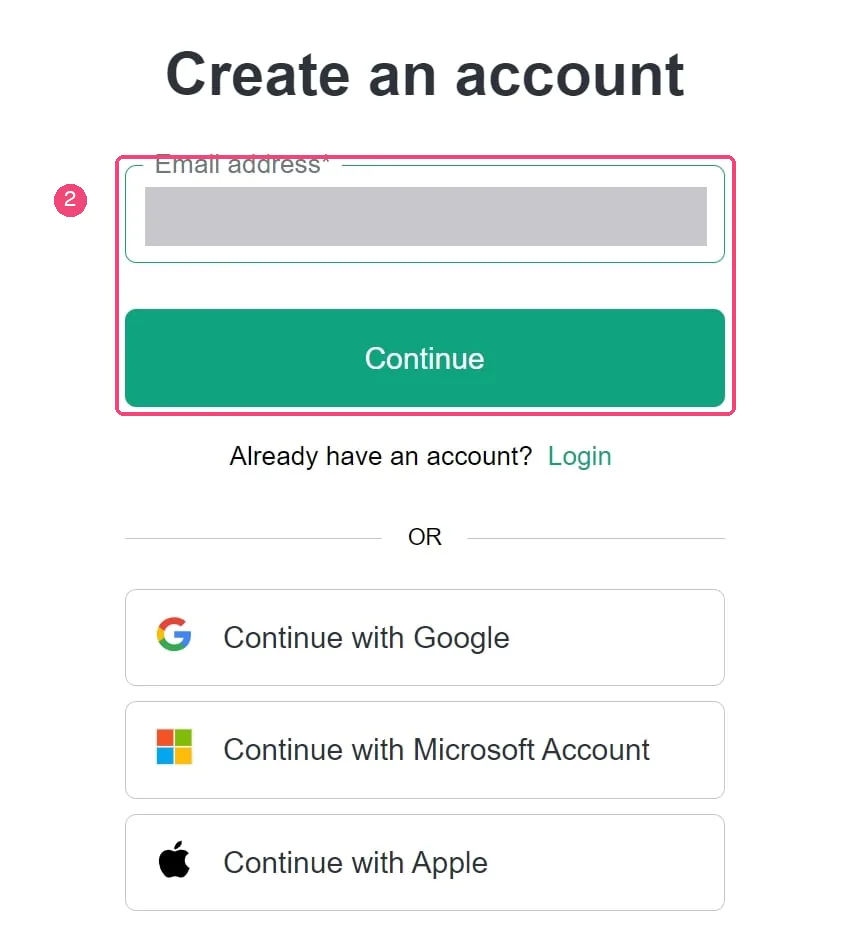
OpenAI sign-up page (older design, email masked) Image source: Supademo (link). If this infringes your rights, email [email protected] and we will remove it right away. - 3
Enter the card
Choose Card and enter the card number, expiry date (MM/YY) and CVC from your card email.
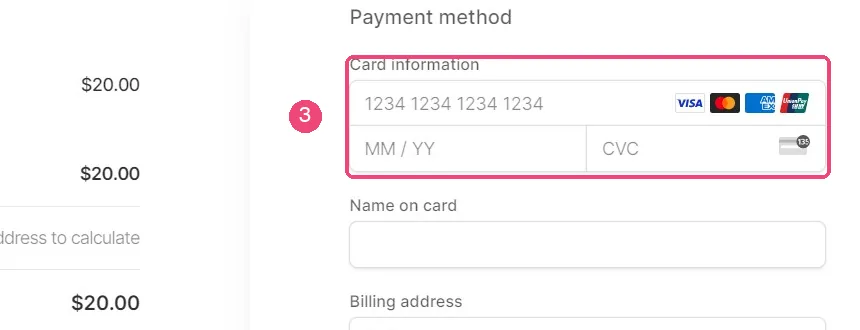
Card fields on the ChatGPT Plus checkout (2023 design; the layout may have changed) Image source: Supademo (link). If this infringes your rights, email [email protected] and we will remove it right away. - 4
Enter the billing address
Use the billing address from your card email. The country and postcode must match it.
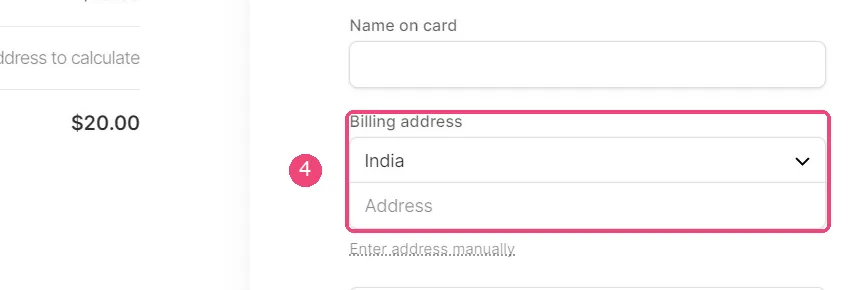
Billing address on the same checkout: pick the country, then the address (the country shown is the original author’s; use the one in your card email) Image source: Supademo (link). If this infringes your rights, email [email protected] and we will remove it right away. - 5
Confirm
Click subscribe and wait for the success message. Changing the card or cancelling later is done in the subscription section of ChatGPT settings.
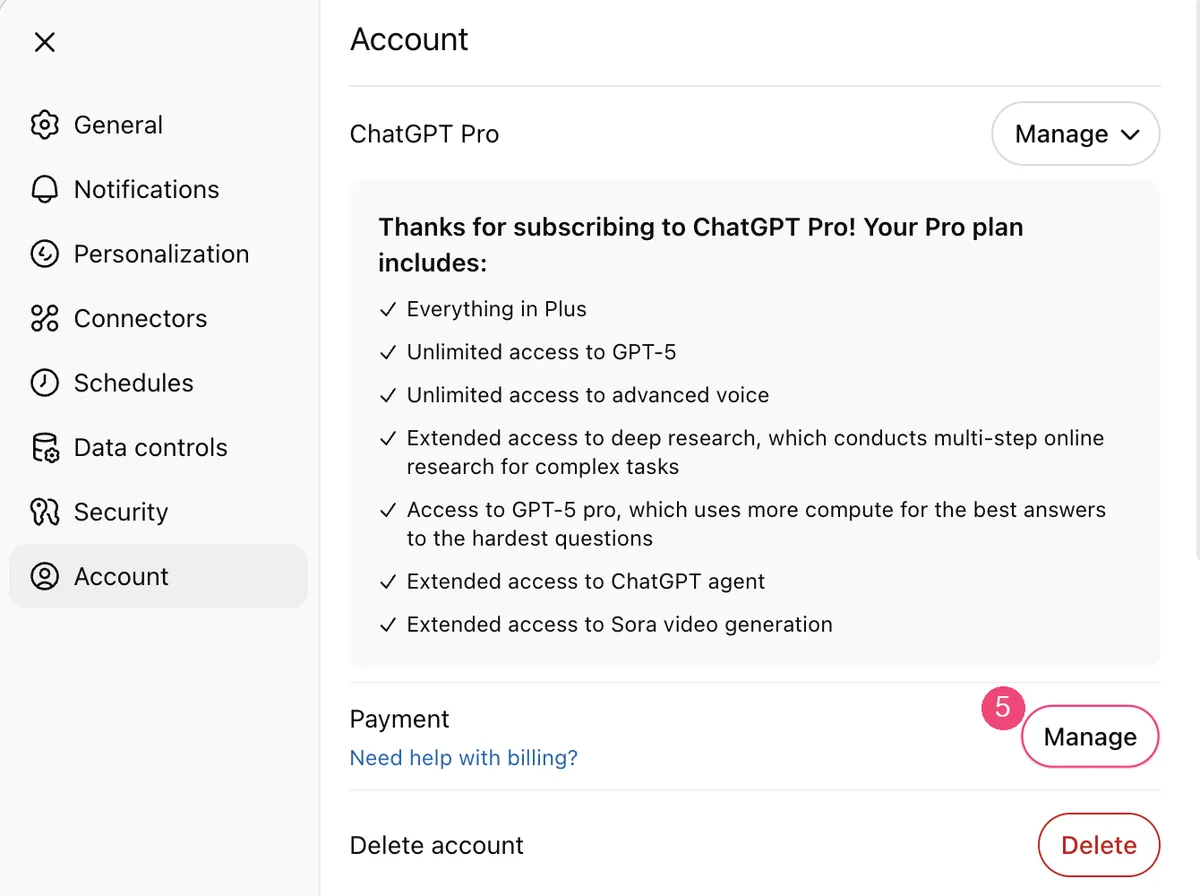
To change the card later: Settings → Account → “Manage” next to Payment (shows the Pro plan) Image source: OpenAI Help Center (link). If this infringes your rights, email [email protected] and we will remove it right away.
Suggested balance (tax included)
- Plus: keep at least $25 on the card. List price $20; with tax the real charge is about $21.2–22, occasionally up to $23.9, plus the $1 fee per charge (based on real charges on our cards over the last 60 days: 81 Plus charges, 41 at $20 and 33 with tax added).
- $100 and $200 plans: on our cards these are mostly charged at list price (20 charges at $100, 11 at $200); a few came to $106–108 with tax. If your region adds tax, keep the tax-included total shown on the payment page plus $1.
Plans and prices as shown on the official page: chatgpt.com/pricing
Common reasons it fails
Why ChatGPT charges on our cards failed over the last 60 days (share of failed charges):
- About 80%: not enough balance. The card held less than the charge. Some regions add tax, so the charge can be above the list price — keep a few dollars extra.
- About 20%: the card was already cancelled (shows as Blocked in your transactions) but ChatGPT kept charging the old card. Switch to your current card in ChatGPT’s subscription settings.
- Under 1%: wrong expiry date. Enter month/year exactly as in the card email.
Check the balance and transactions, or top up this card: Card lookup & top-up
Payment declined? Read: ChatGPT Plus payment declined
Renewal failed? Read: ChatGPT Plus renewal failed
OpenAI help: Change or remove a payment method
Still stuck? Contact support
Tell us which step failed and what the page said — a screenshot helps.